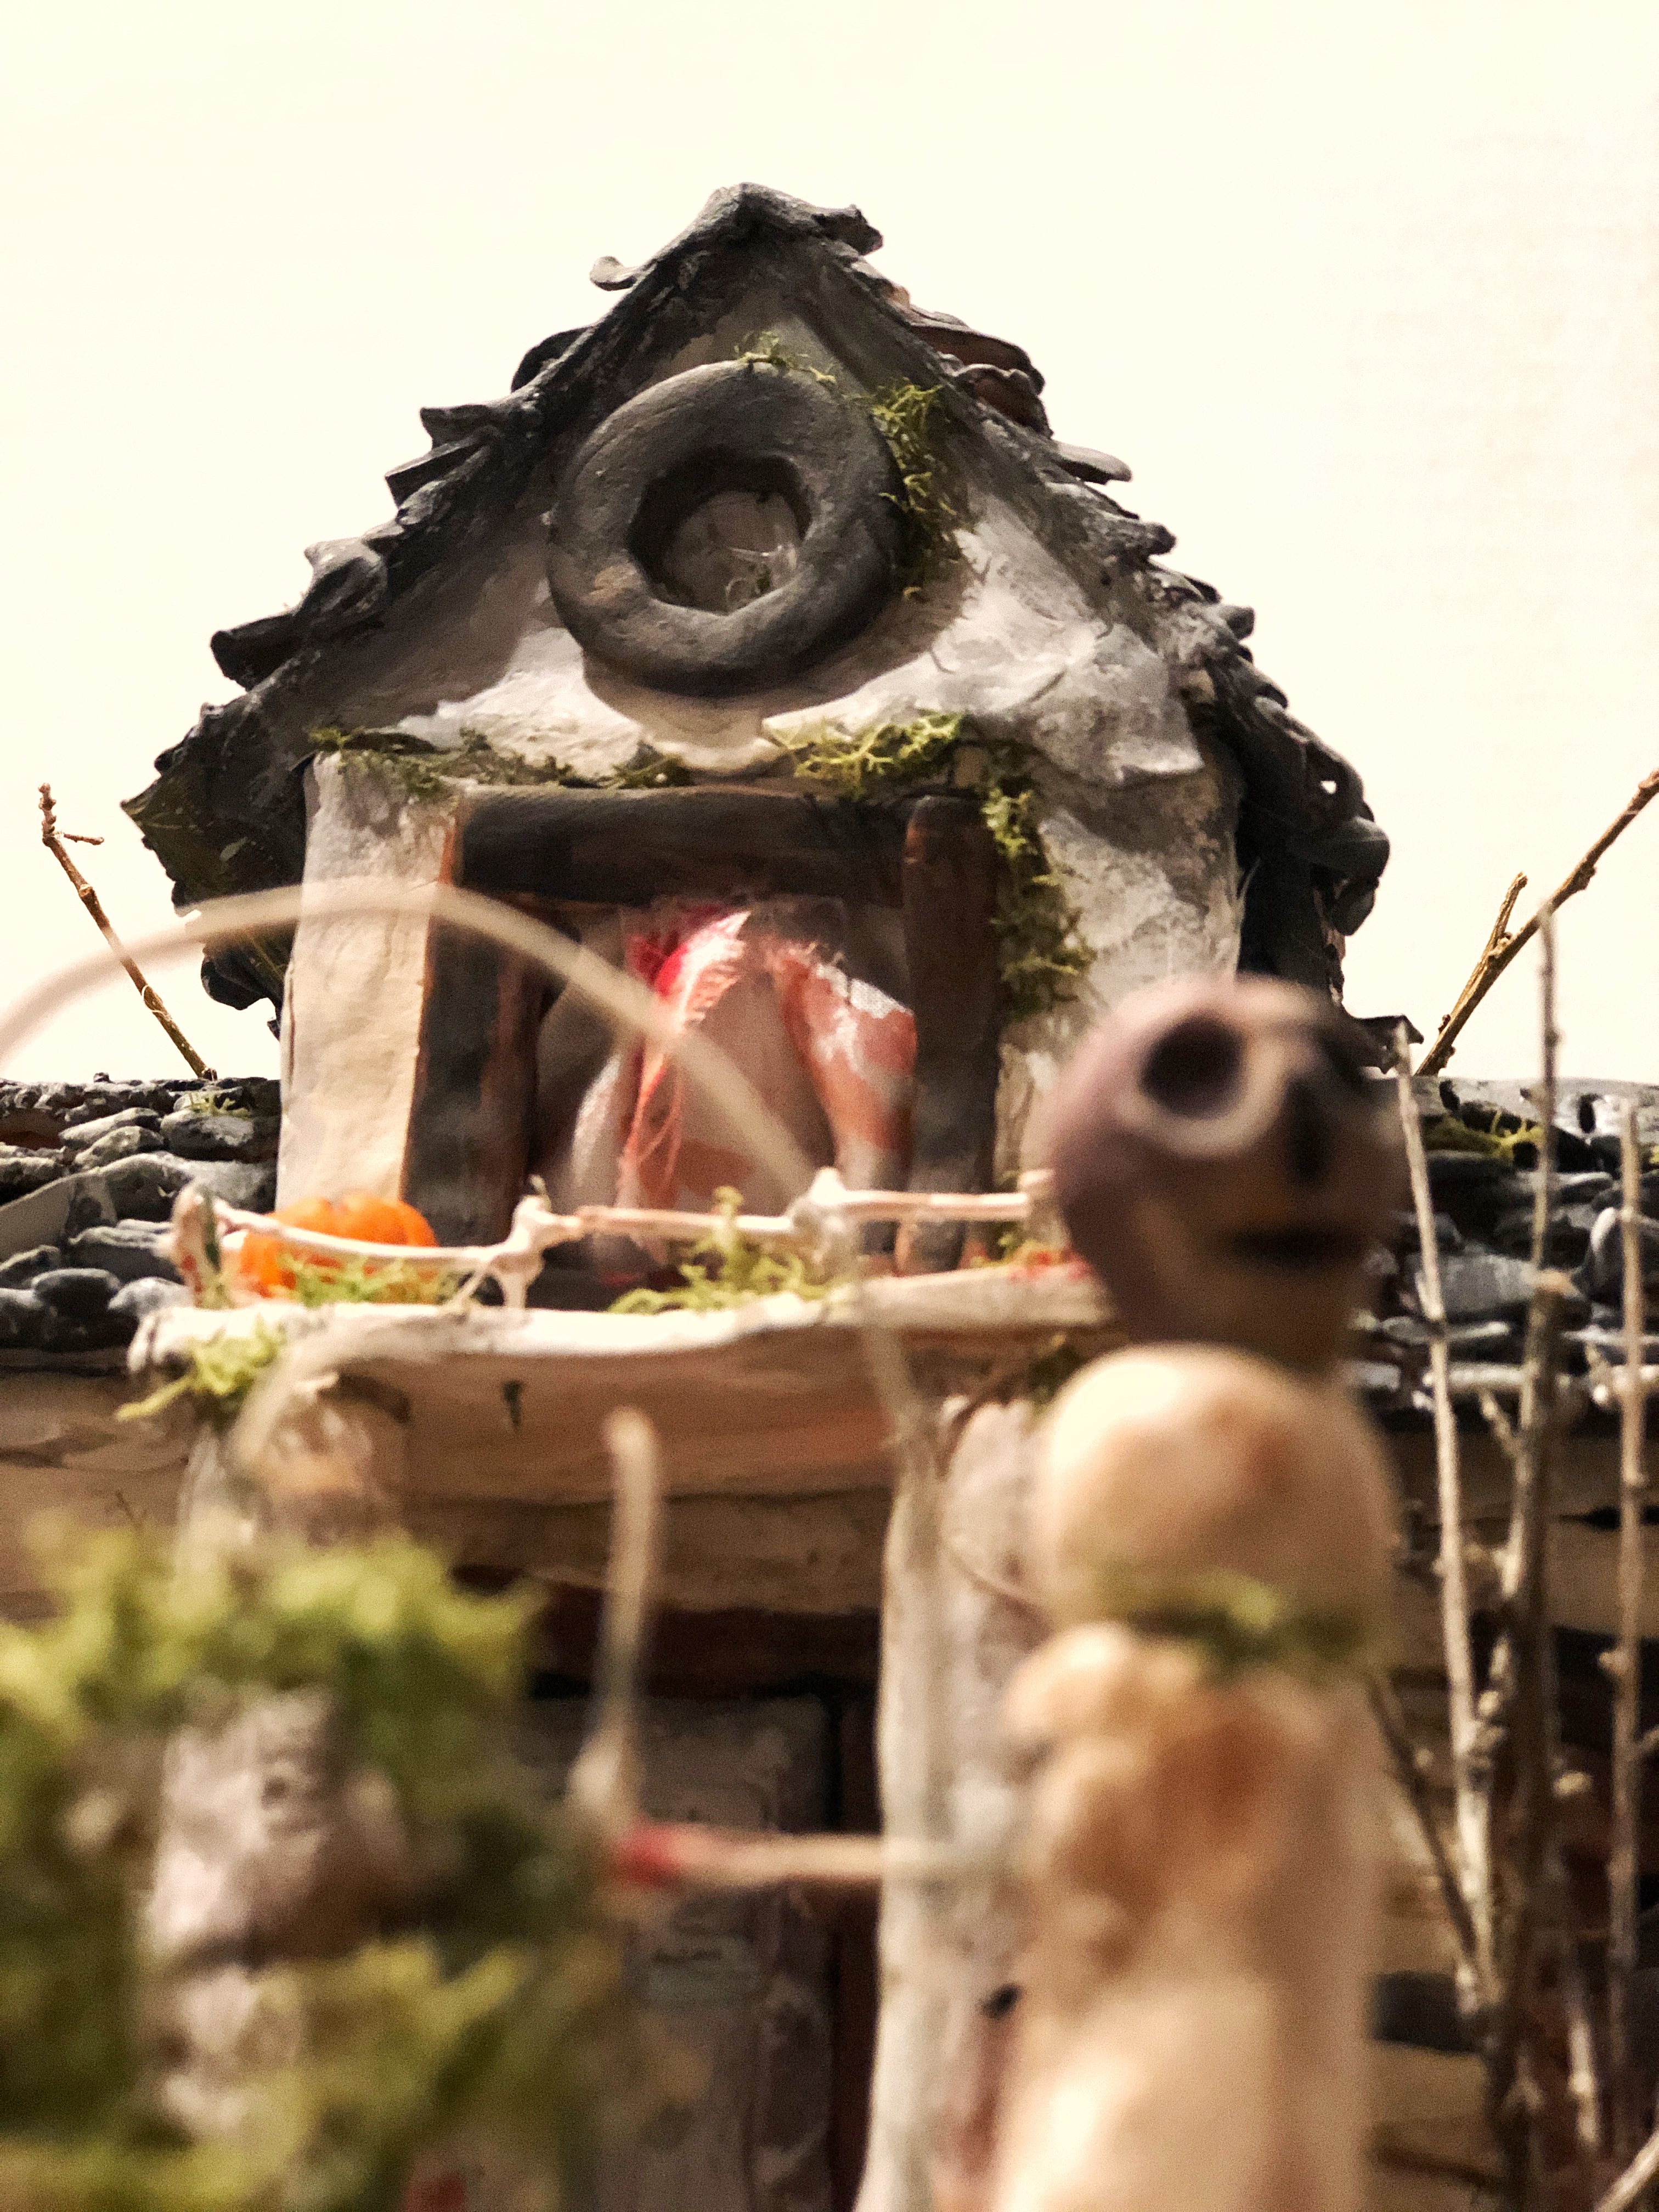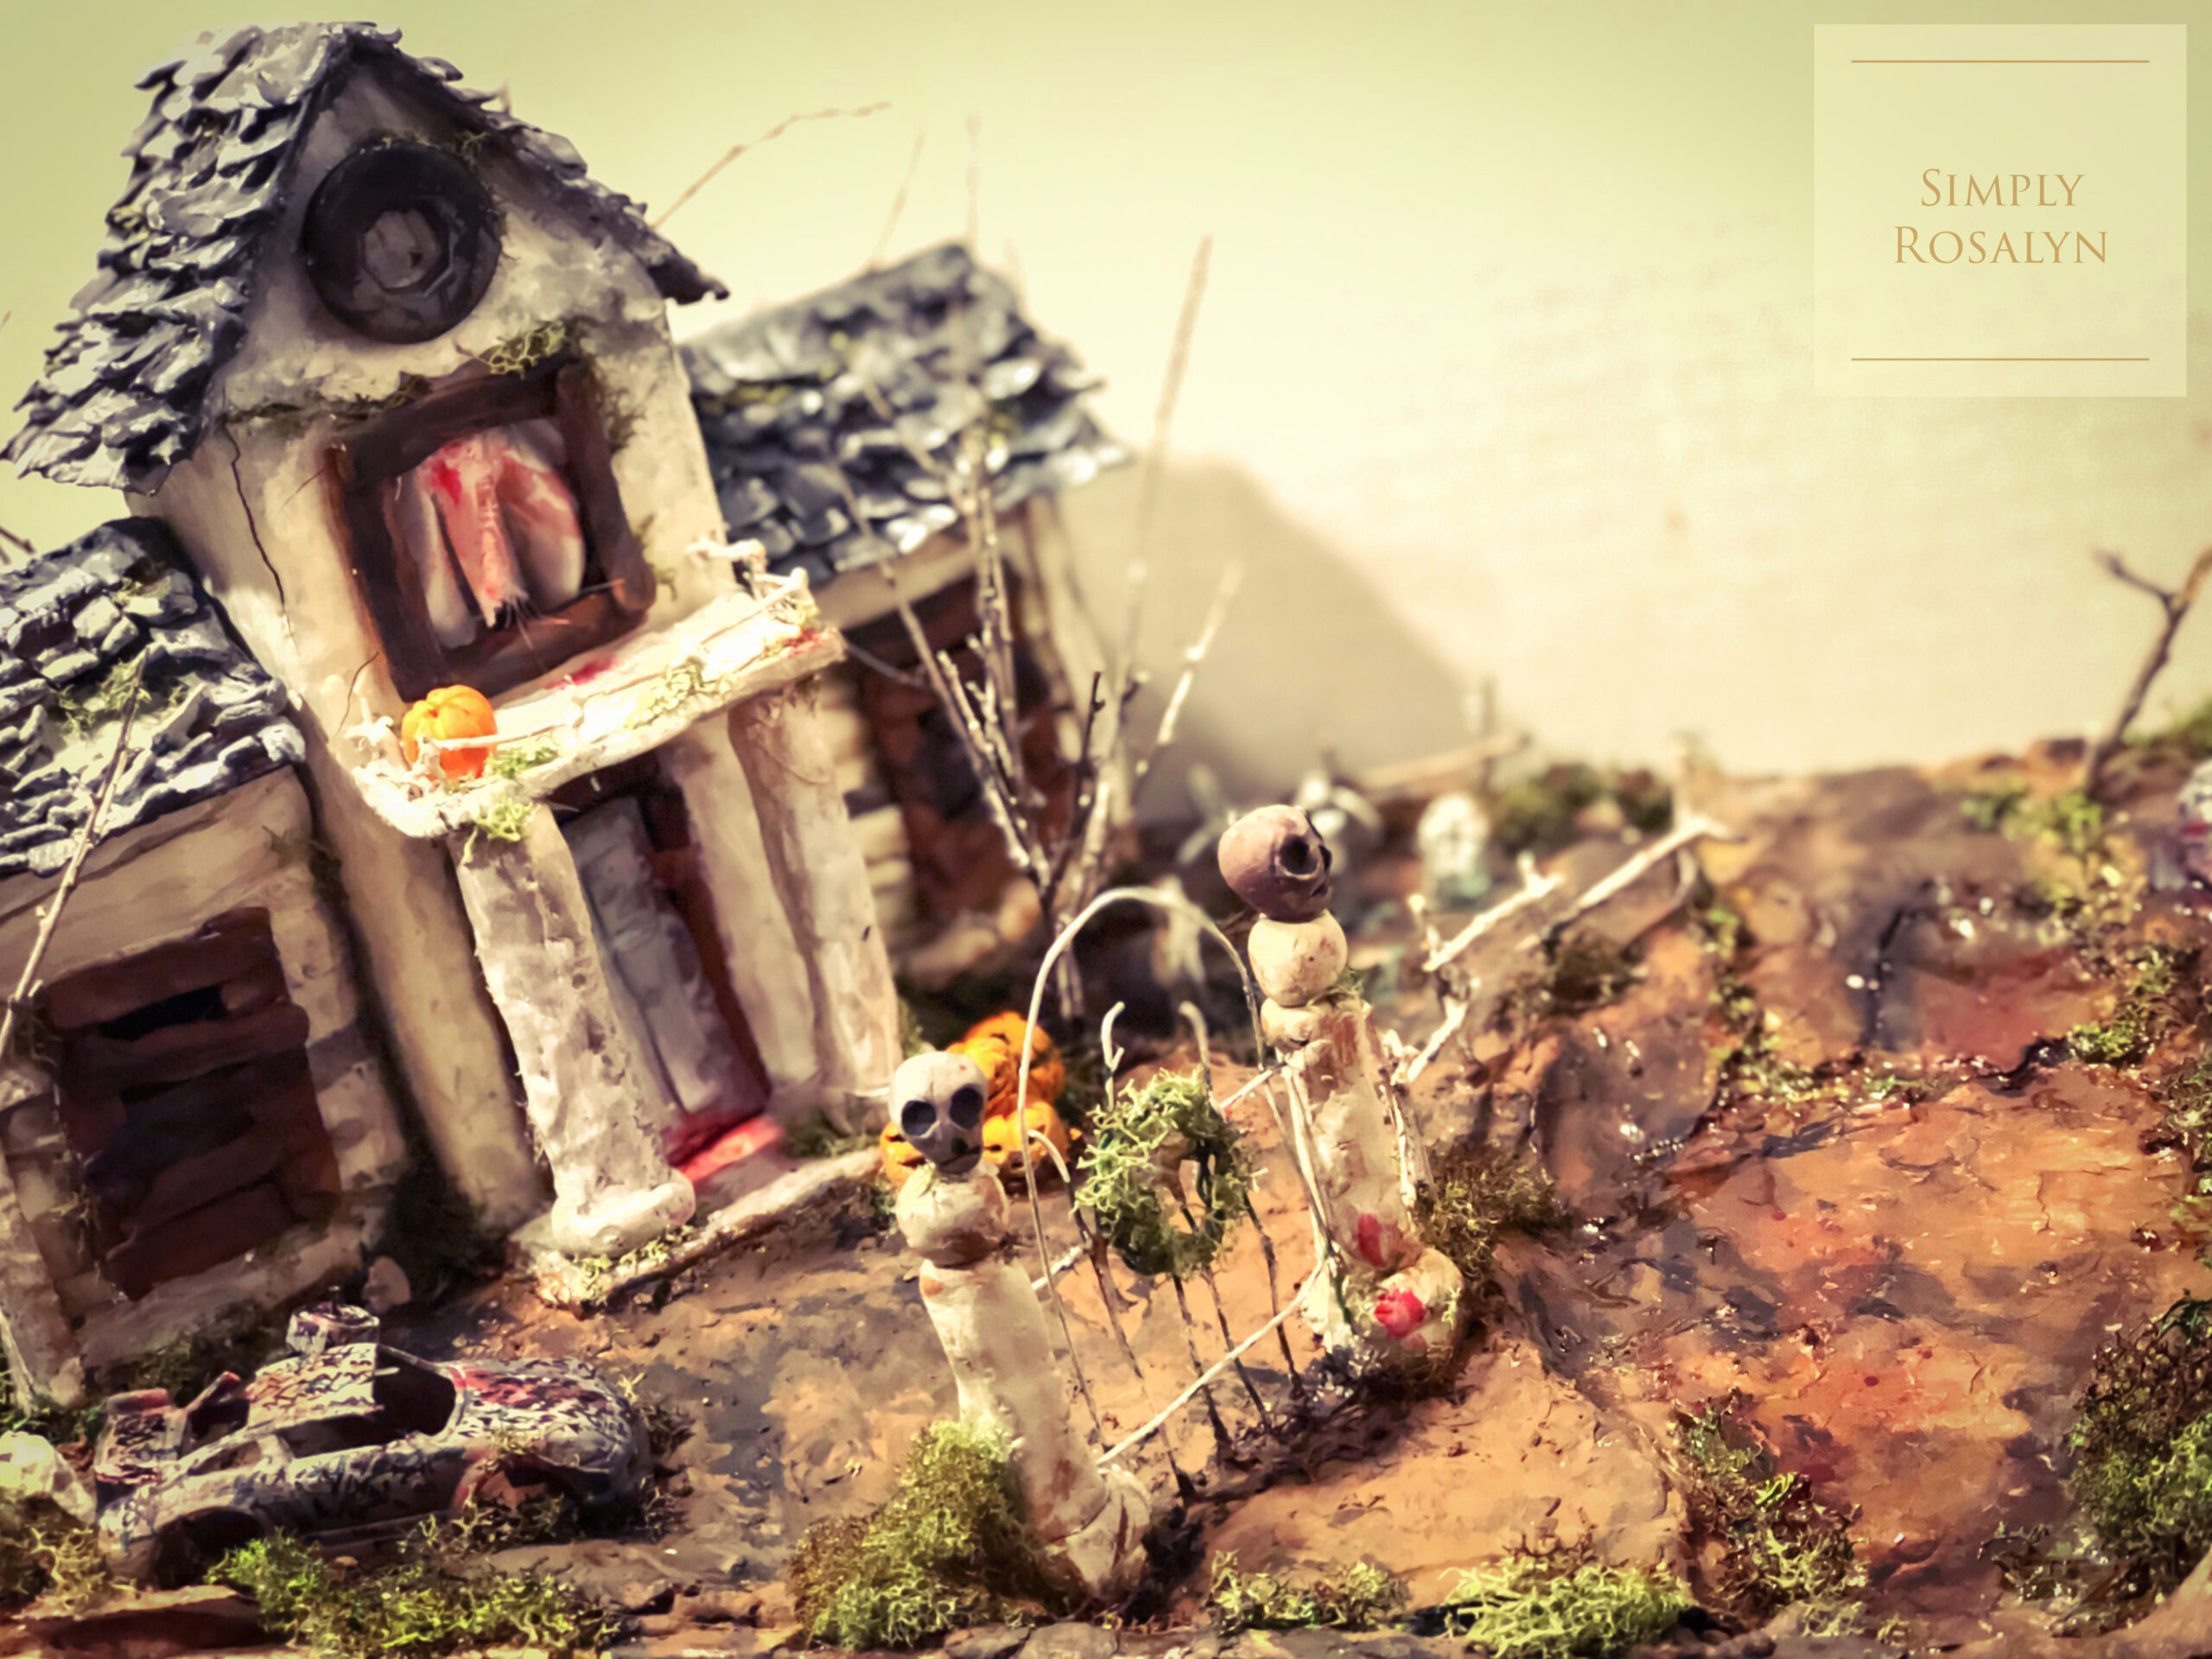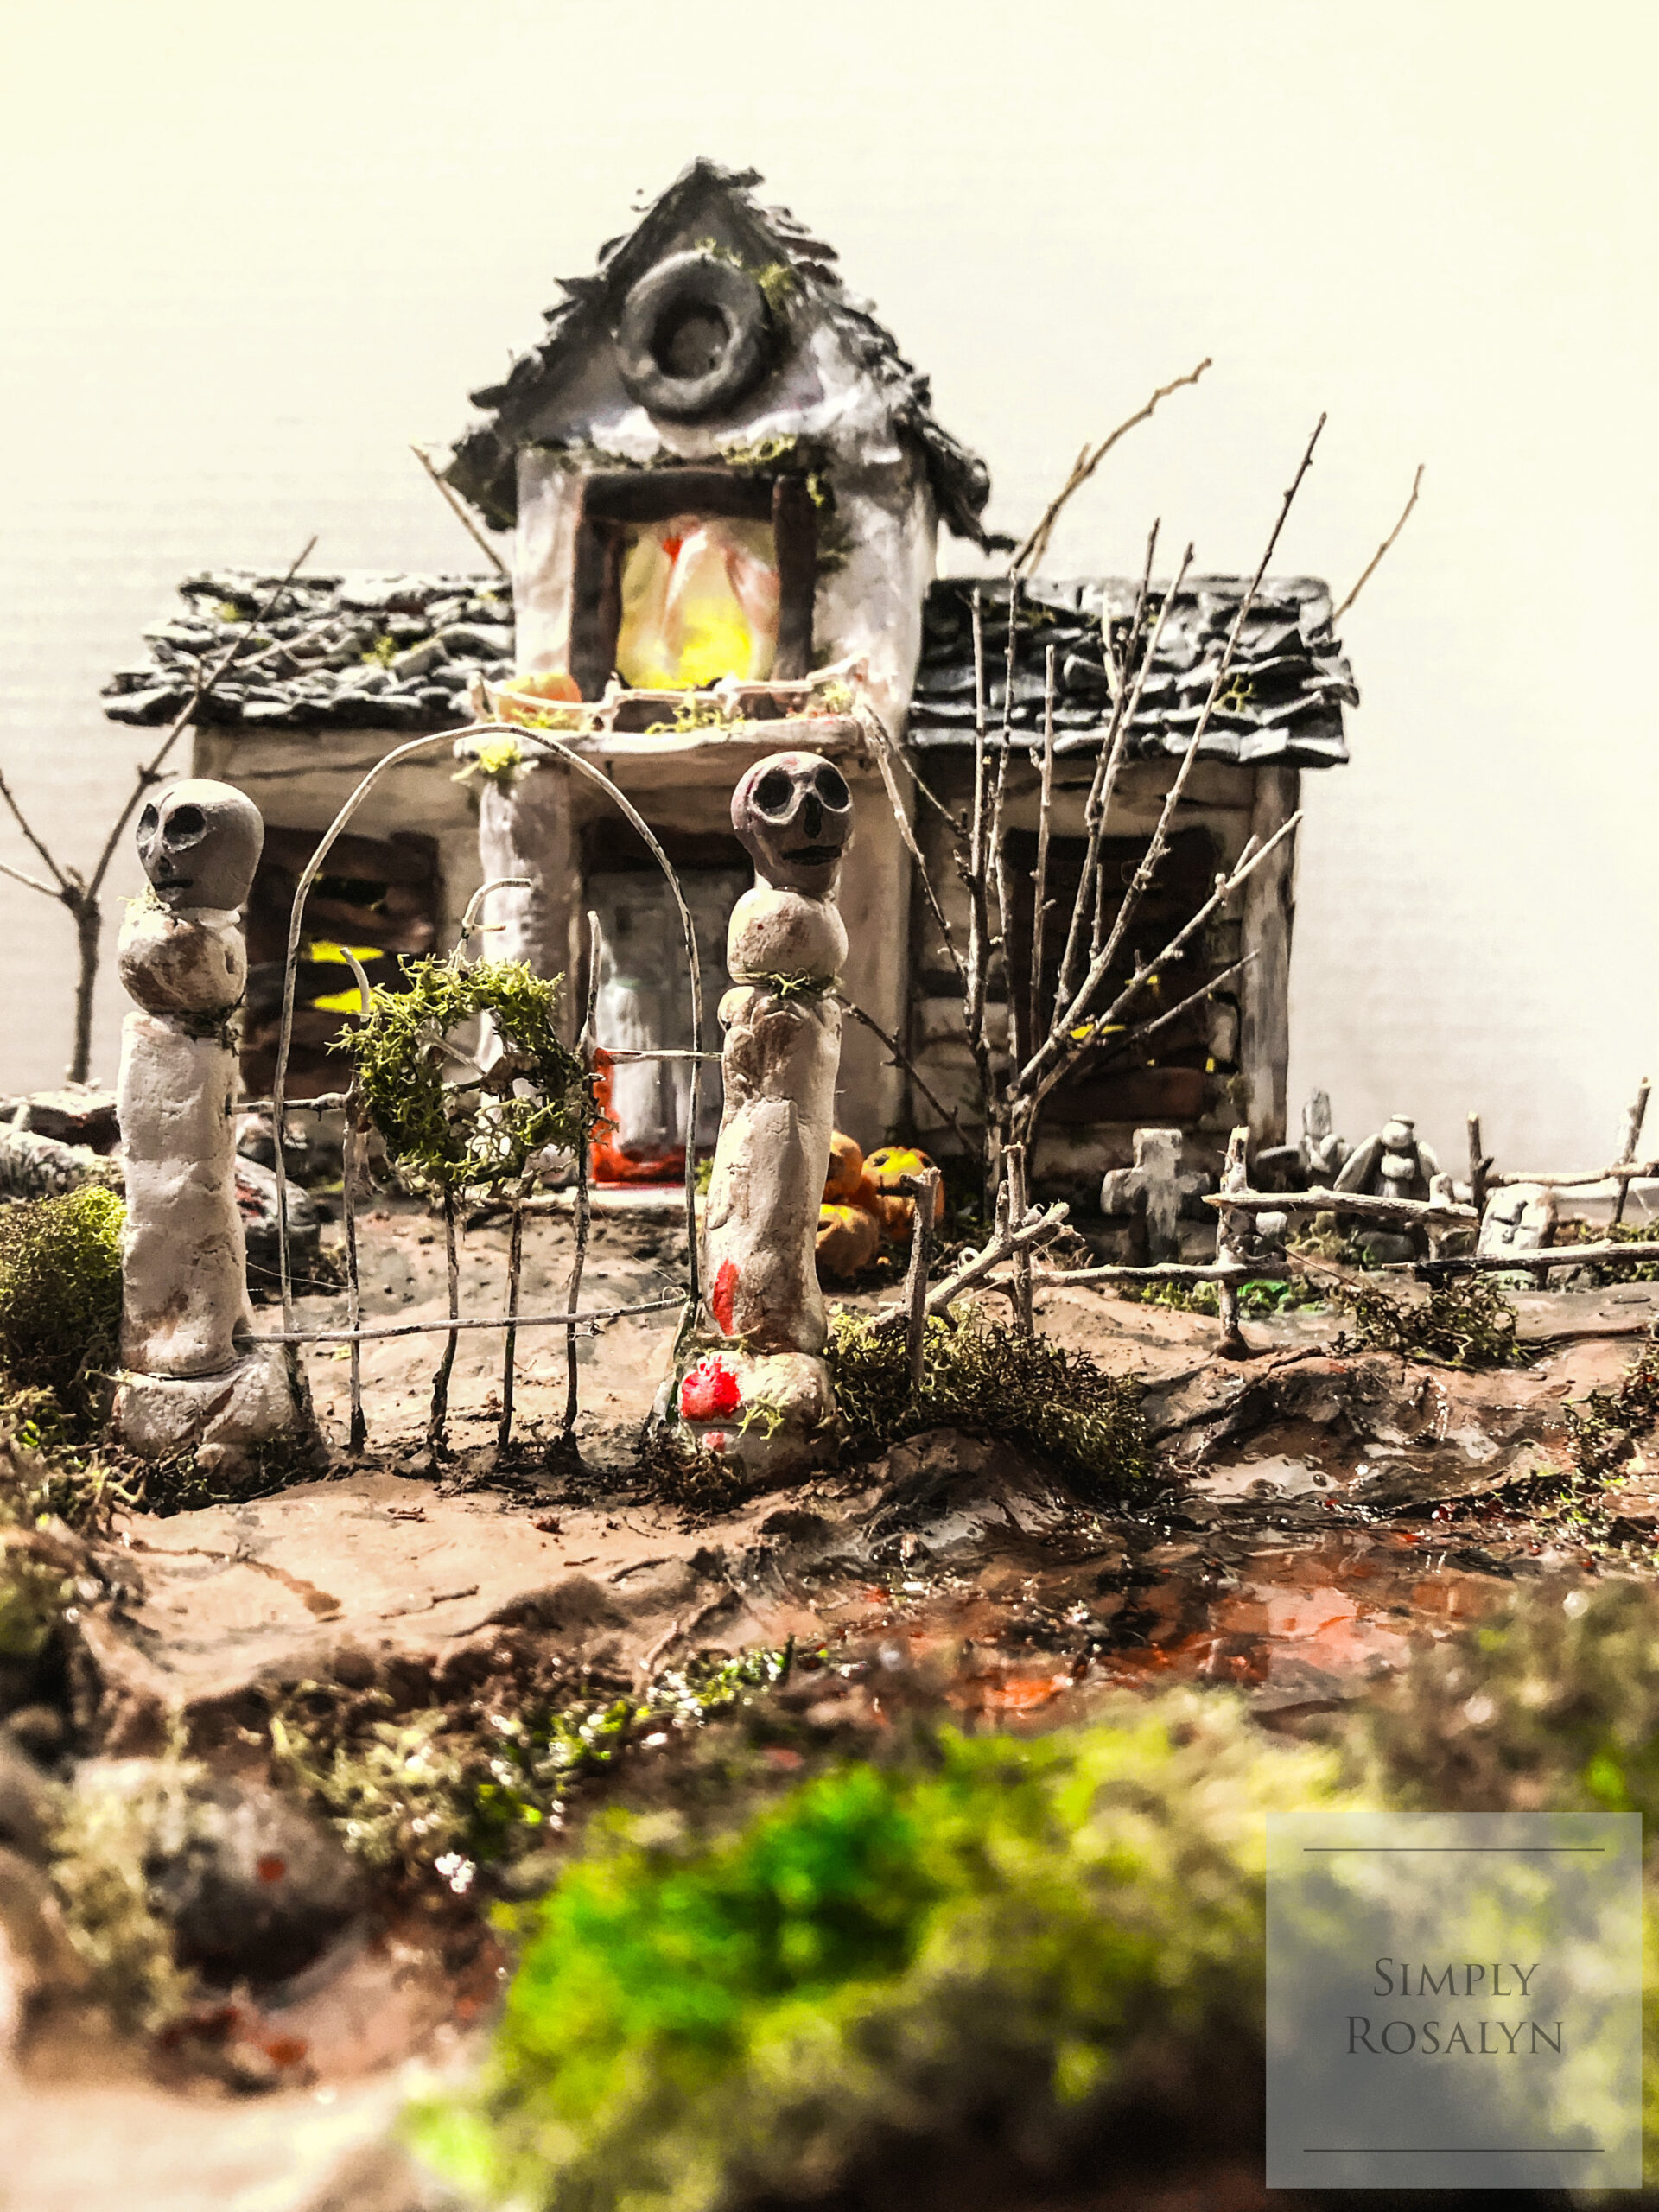
This miniature haunted house was one of those Halloween projects that started simple and slowly turned into something more detailed. My daughter and I worked on it together, adding little pieces as we went until it became a full spooky scene.
Materials We Used
We used cardboard, air-dry clay or paper clay, acrylic paint, glue, small sticks, moss, tiny pumpkins, and other Halloween decorations. We also used basic tools like paintbrushes, scissors, and a craft knife.

Step 1: Build the House Shape
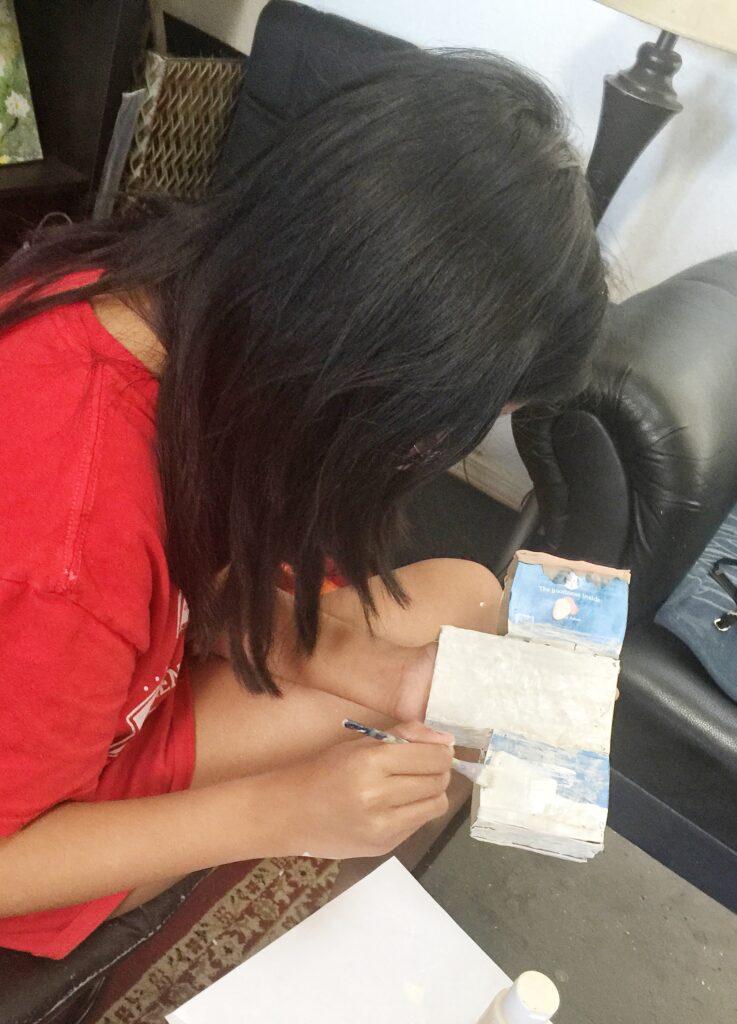
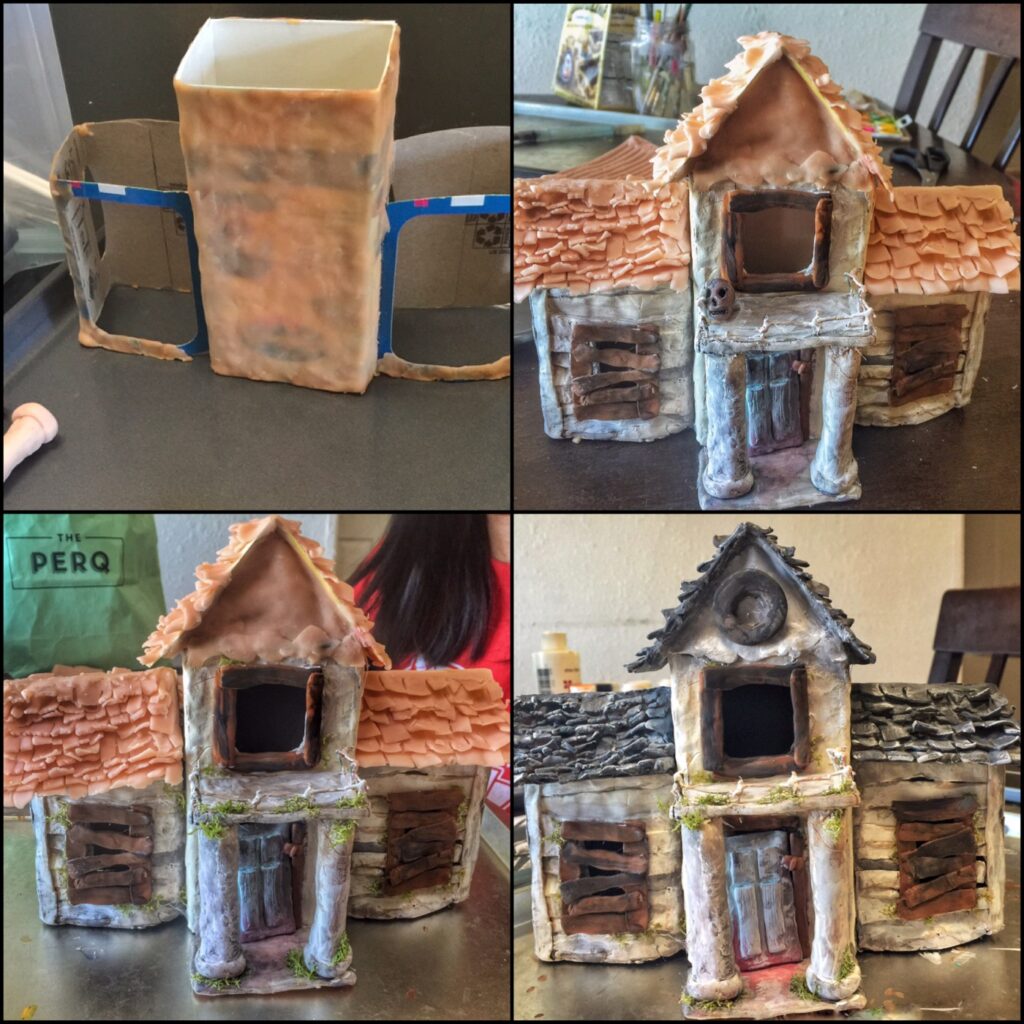
We started by creating the basic shape of the house using cardboard. We cut out the walls, roof, windows, and door, then glued everything together. It did not have to be perfect because the crooked and uneven look actually helped make it feel old and haunted.

Step 2: Add Texture
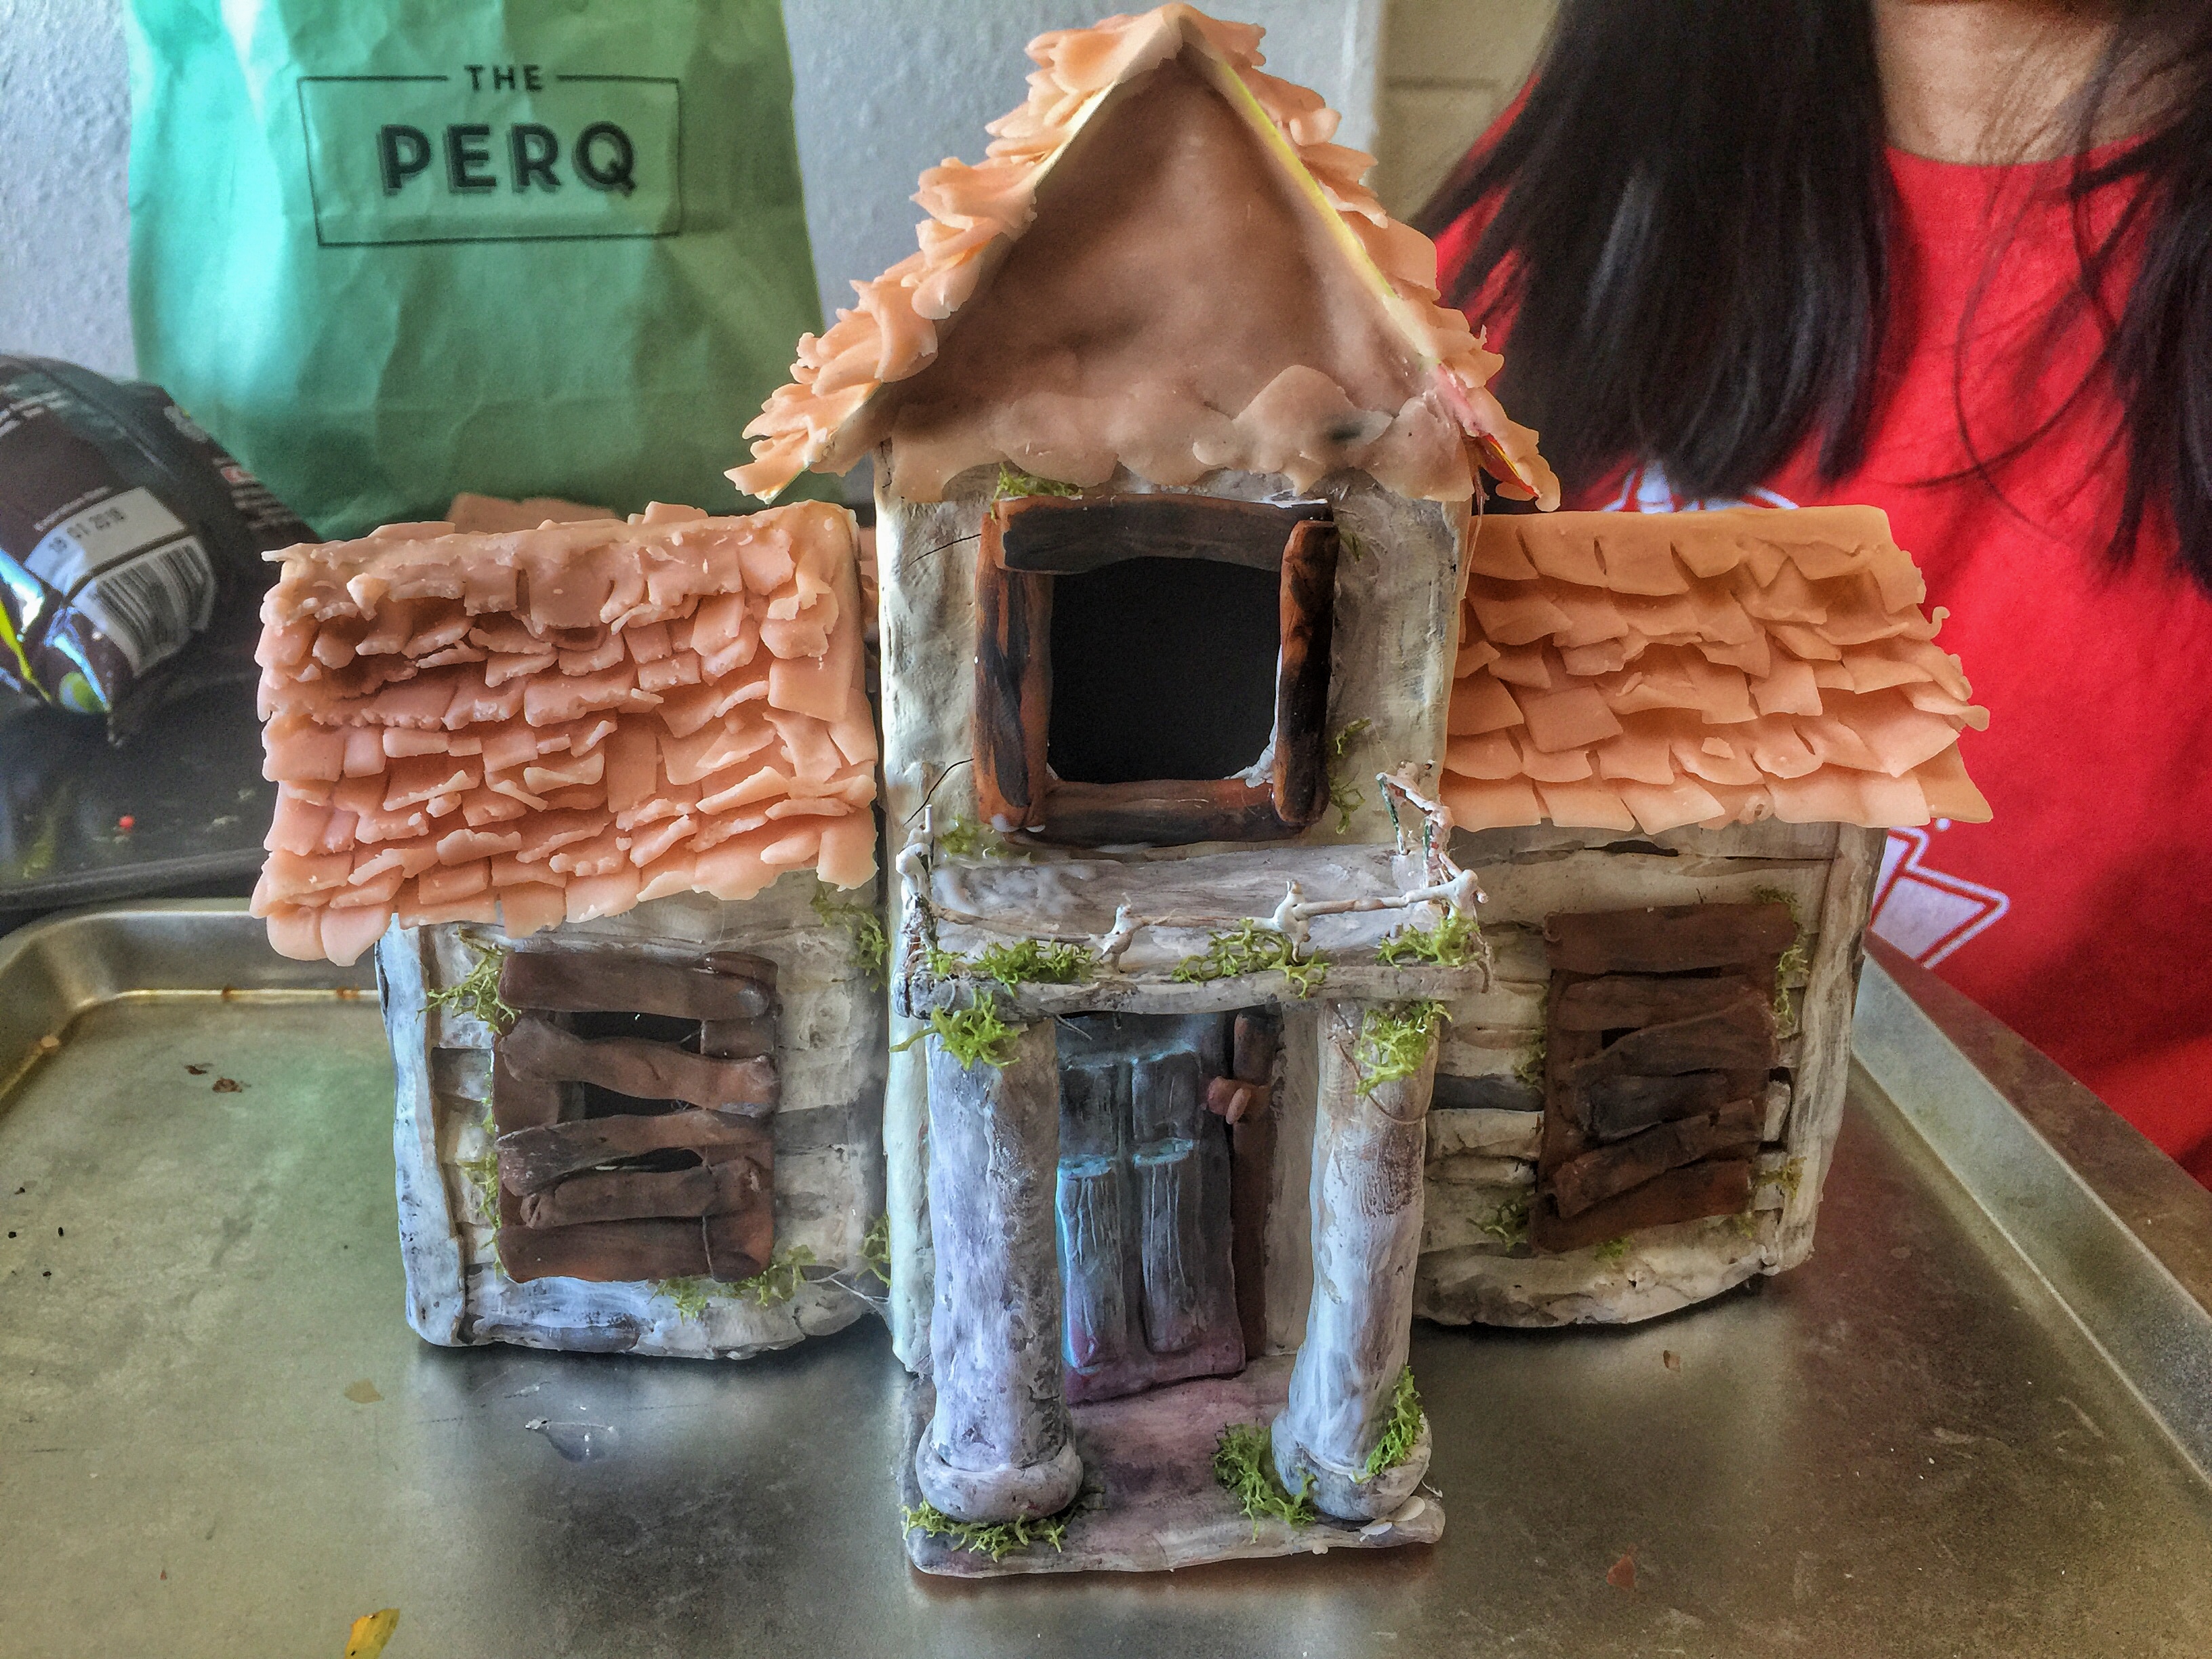
After the house shape was built, we added texture to make it look worn and aged. We covered parts of the house with clay and added lines, cracks, and rough surfaces. This helped the house look more like an old abandoned building instead of plain cardboard.


Step 3: Paint the Base Colors
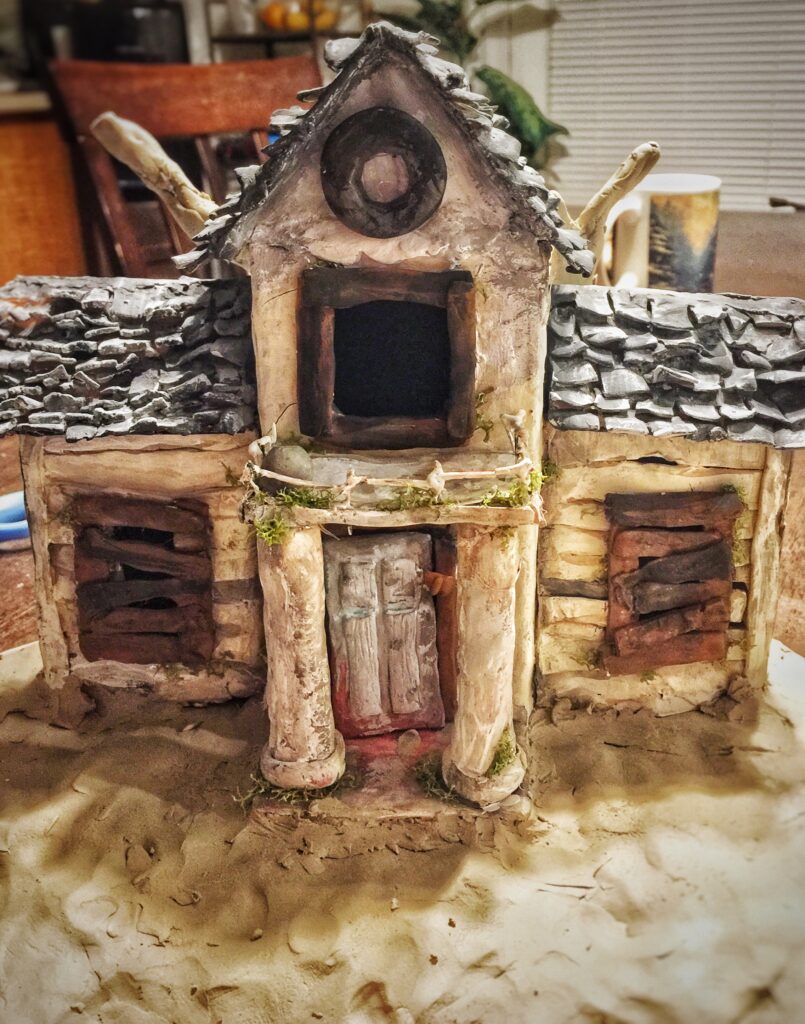
Once everything dried, we painted the house with neutral colors like brown, gray, black, and white. We layered the paint so it would look weathered. Dark paint helped create shadows, while lighter paint brought out the raised textures.


Step 4: Build the Yard Scene
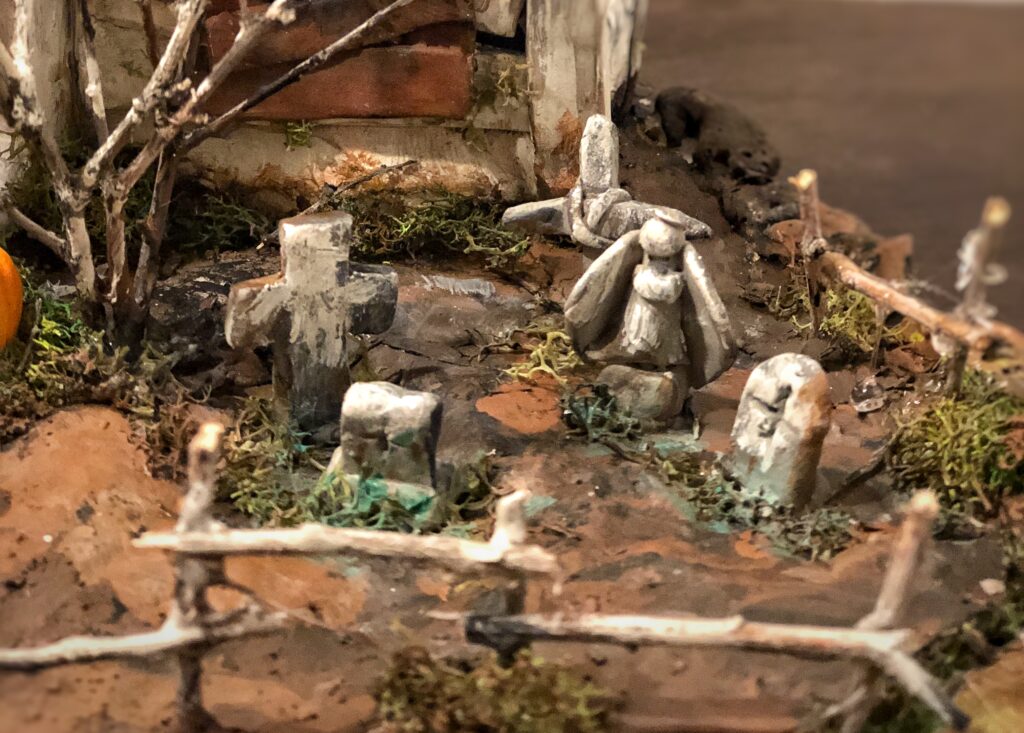
We placed the house on a base and started decorating the yard. We added moss, dirt-like texture, small branches for spooky trees, pumpkins, gravestones, and little Halloween figures. This was the fun part because every small piece made the scene feel more alive.
Step 6: Add Final Touches
The final step was adding extra paint, shadows, moss, and tiny decorations wherever the scene needed more character. We kept adjusting things until the haunted house looked complete.